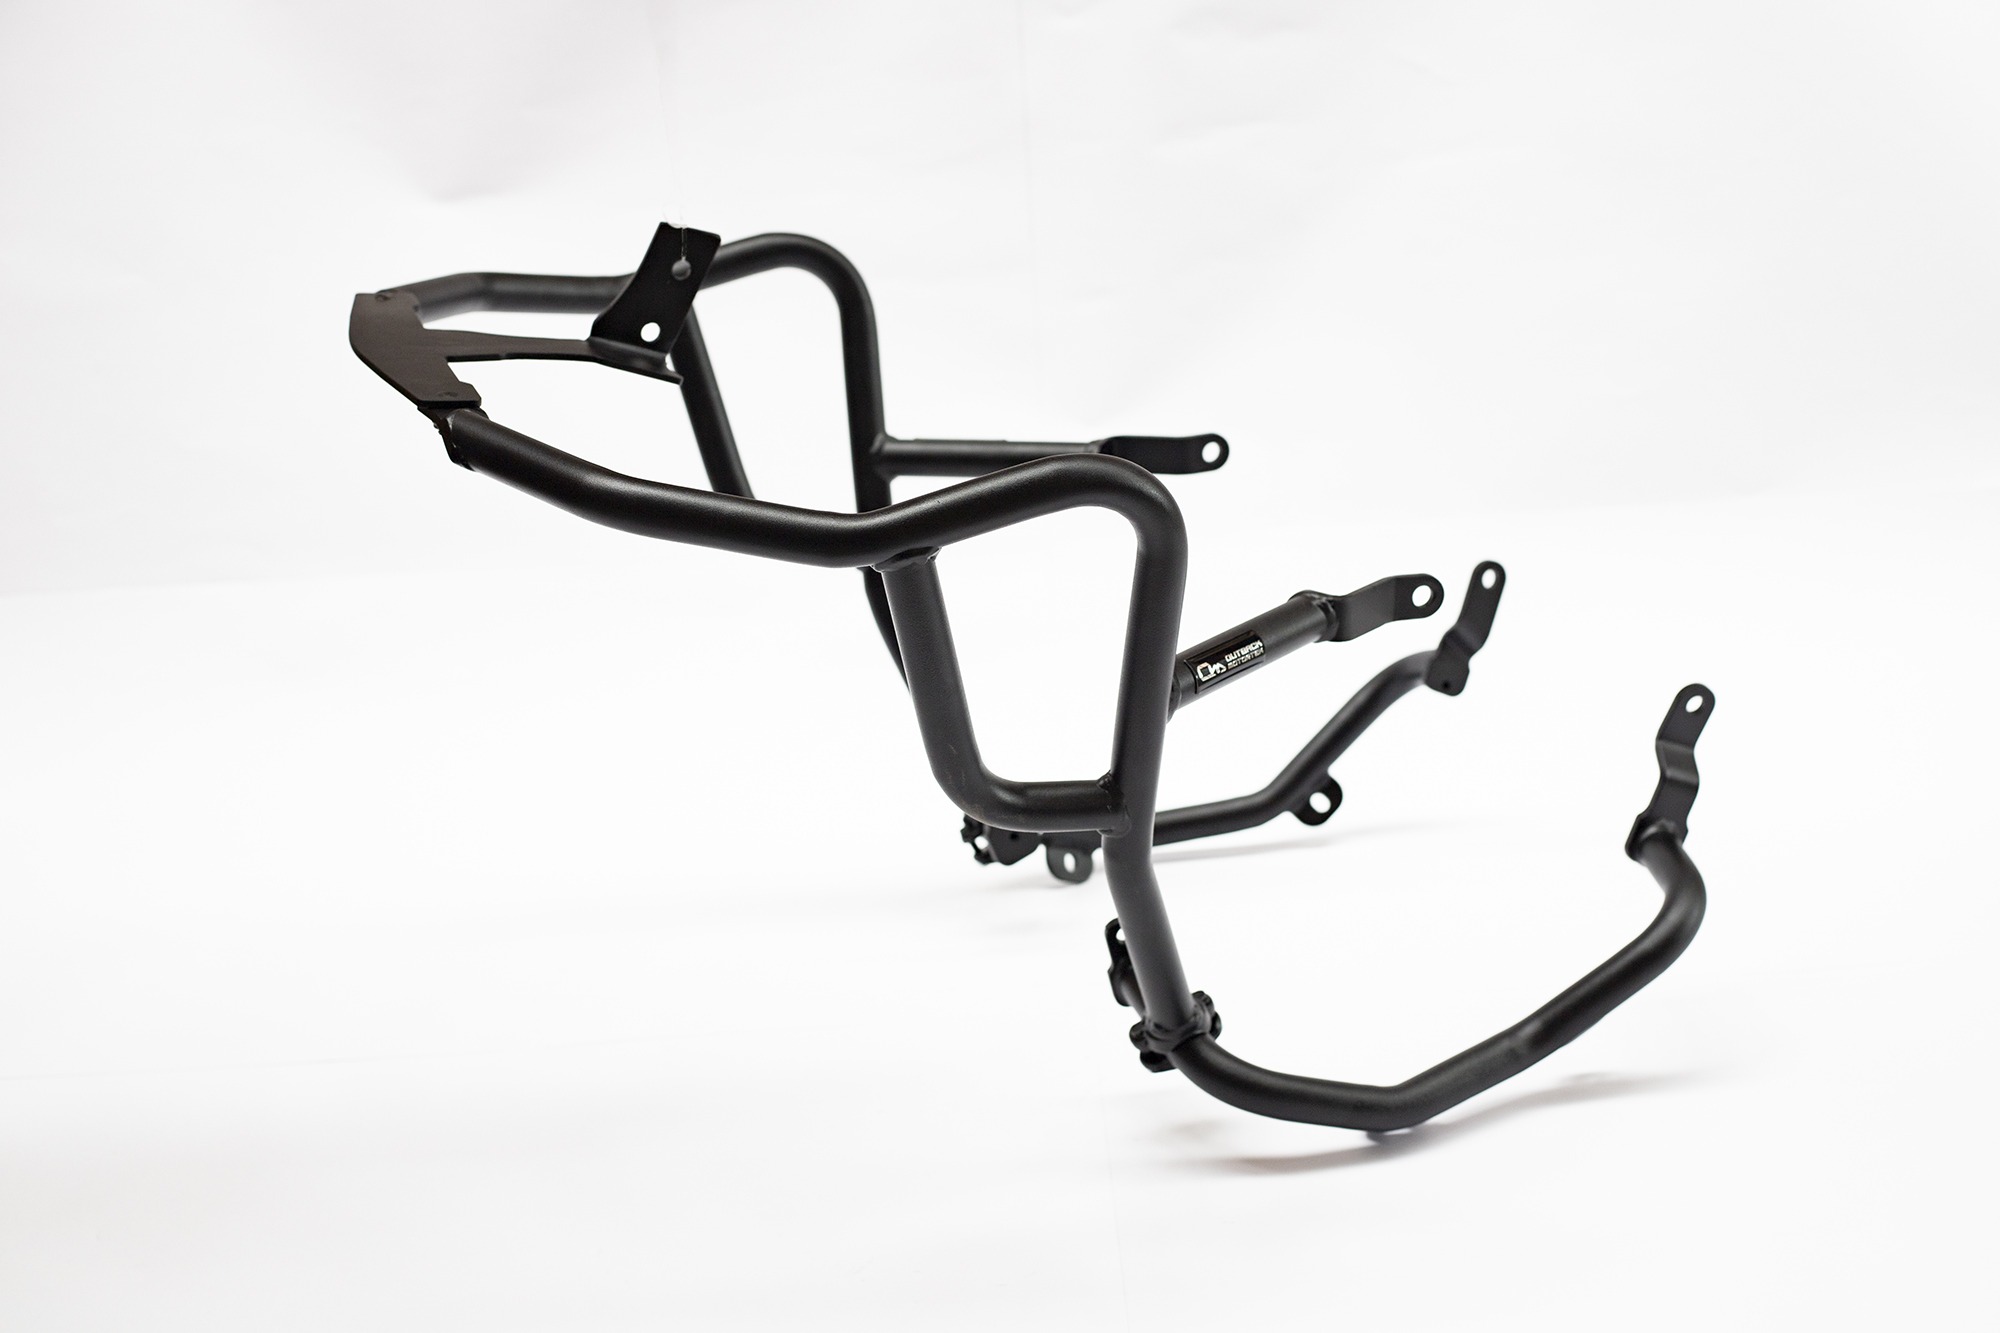
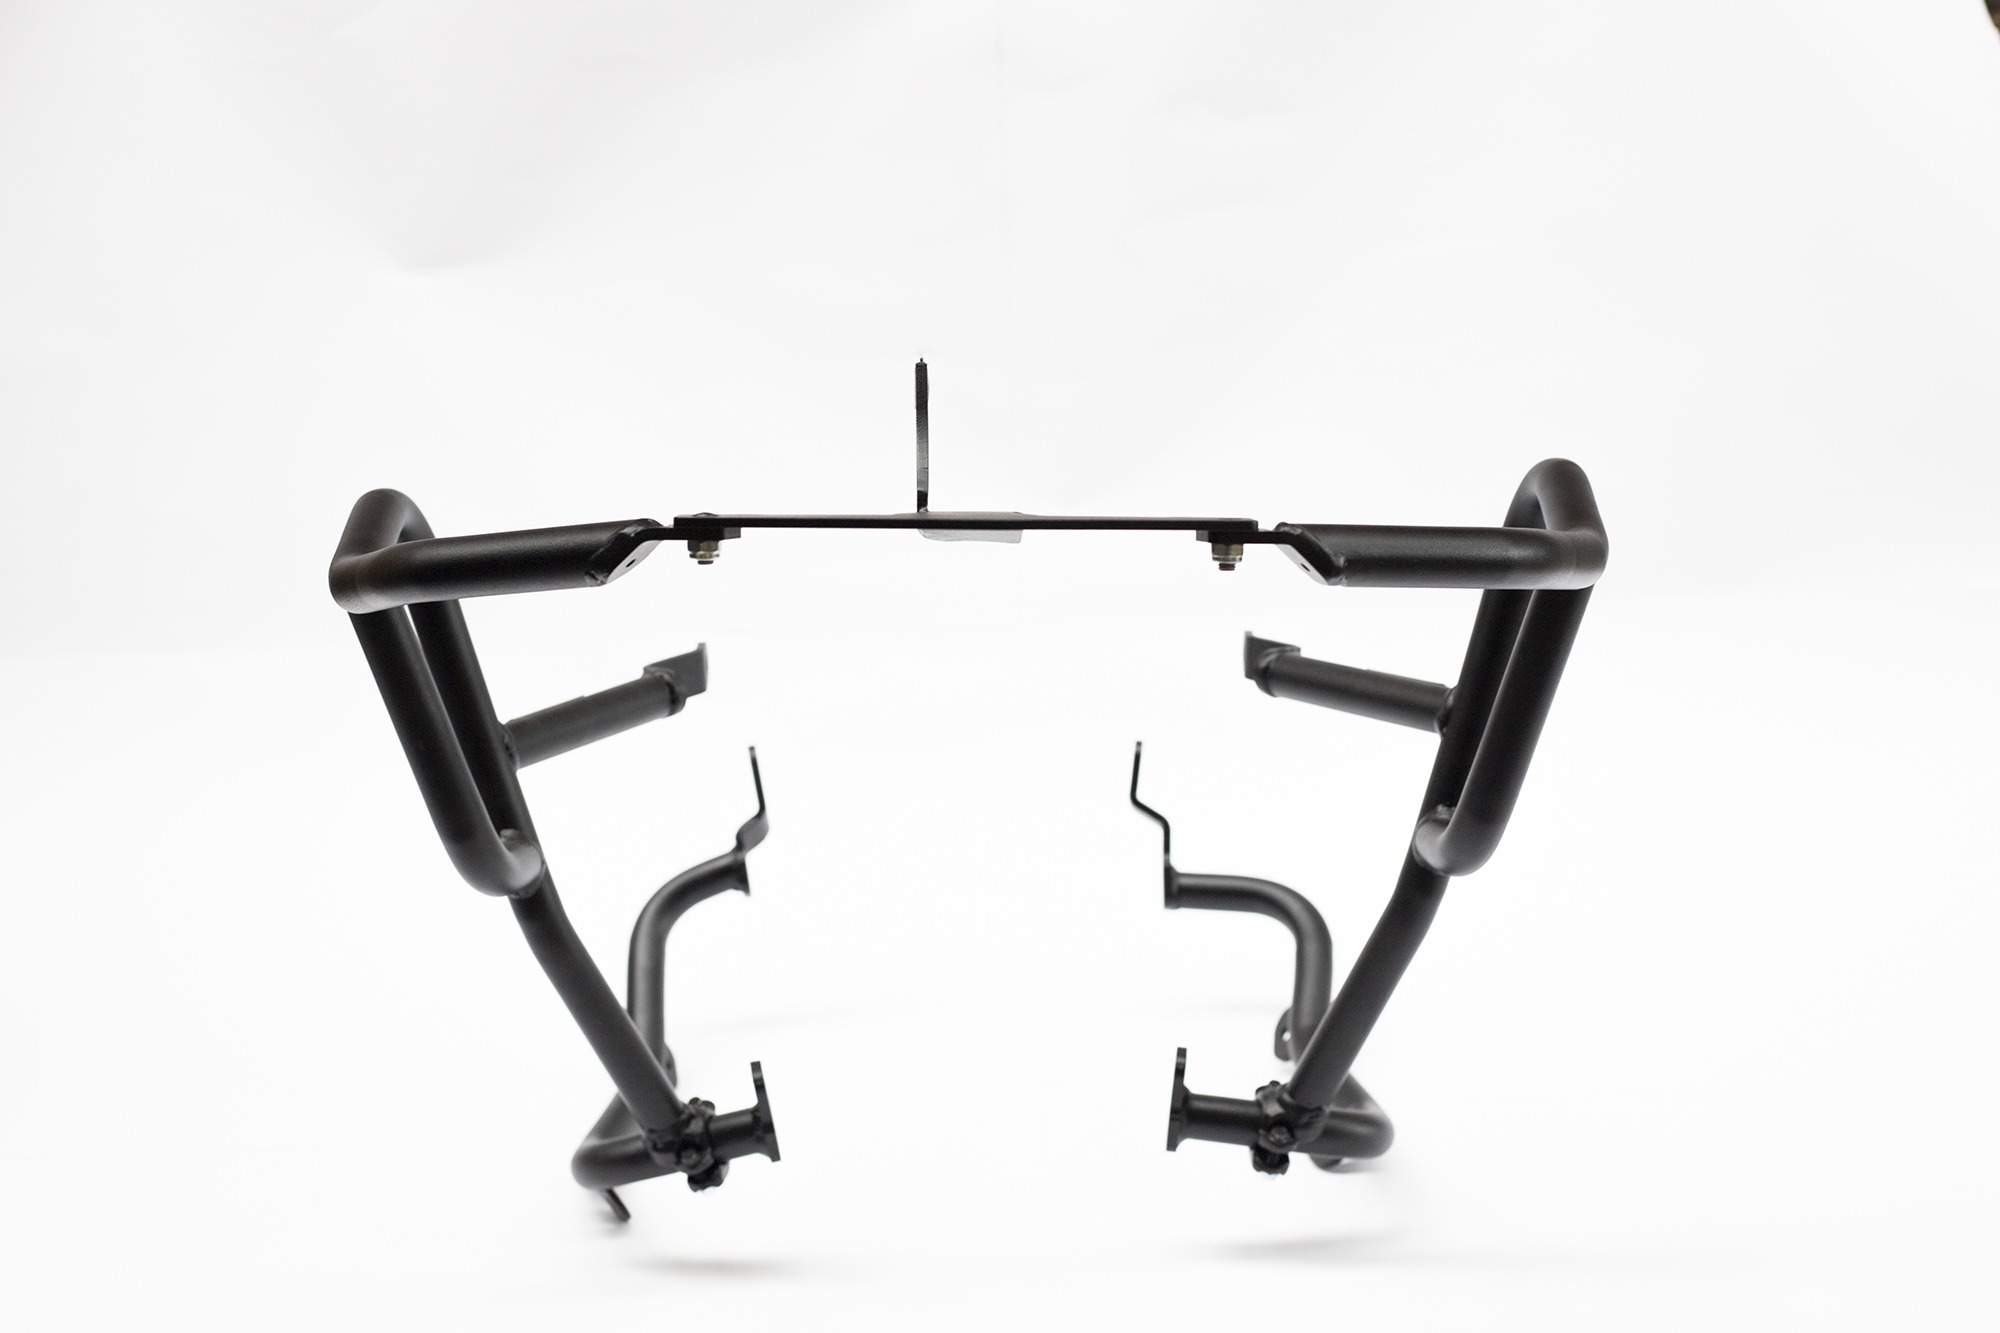
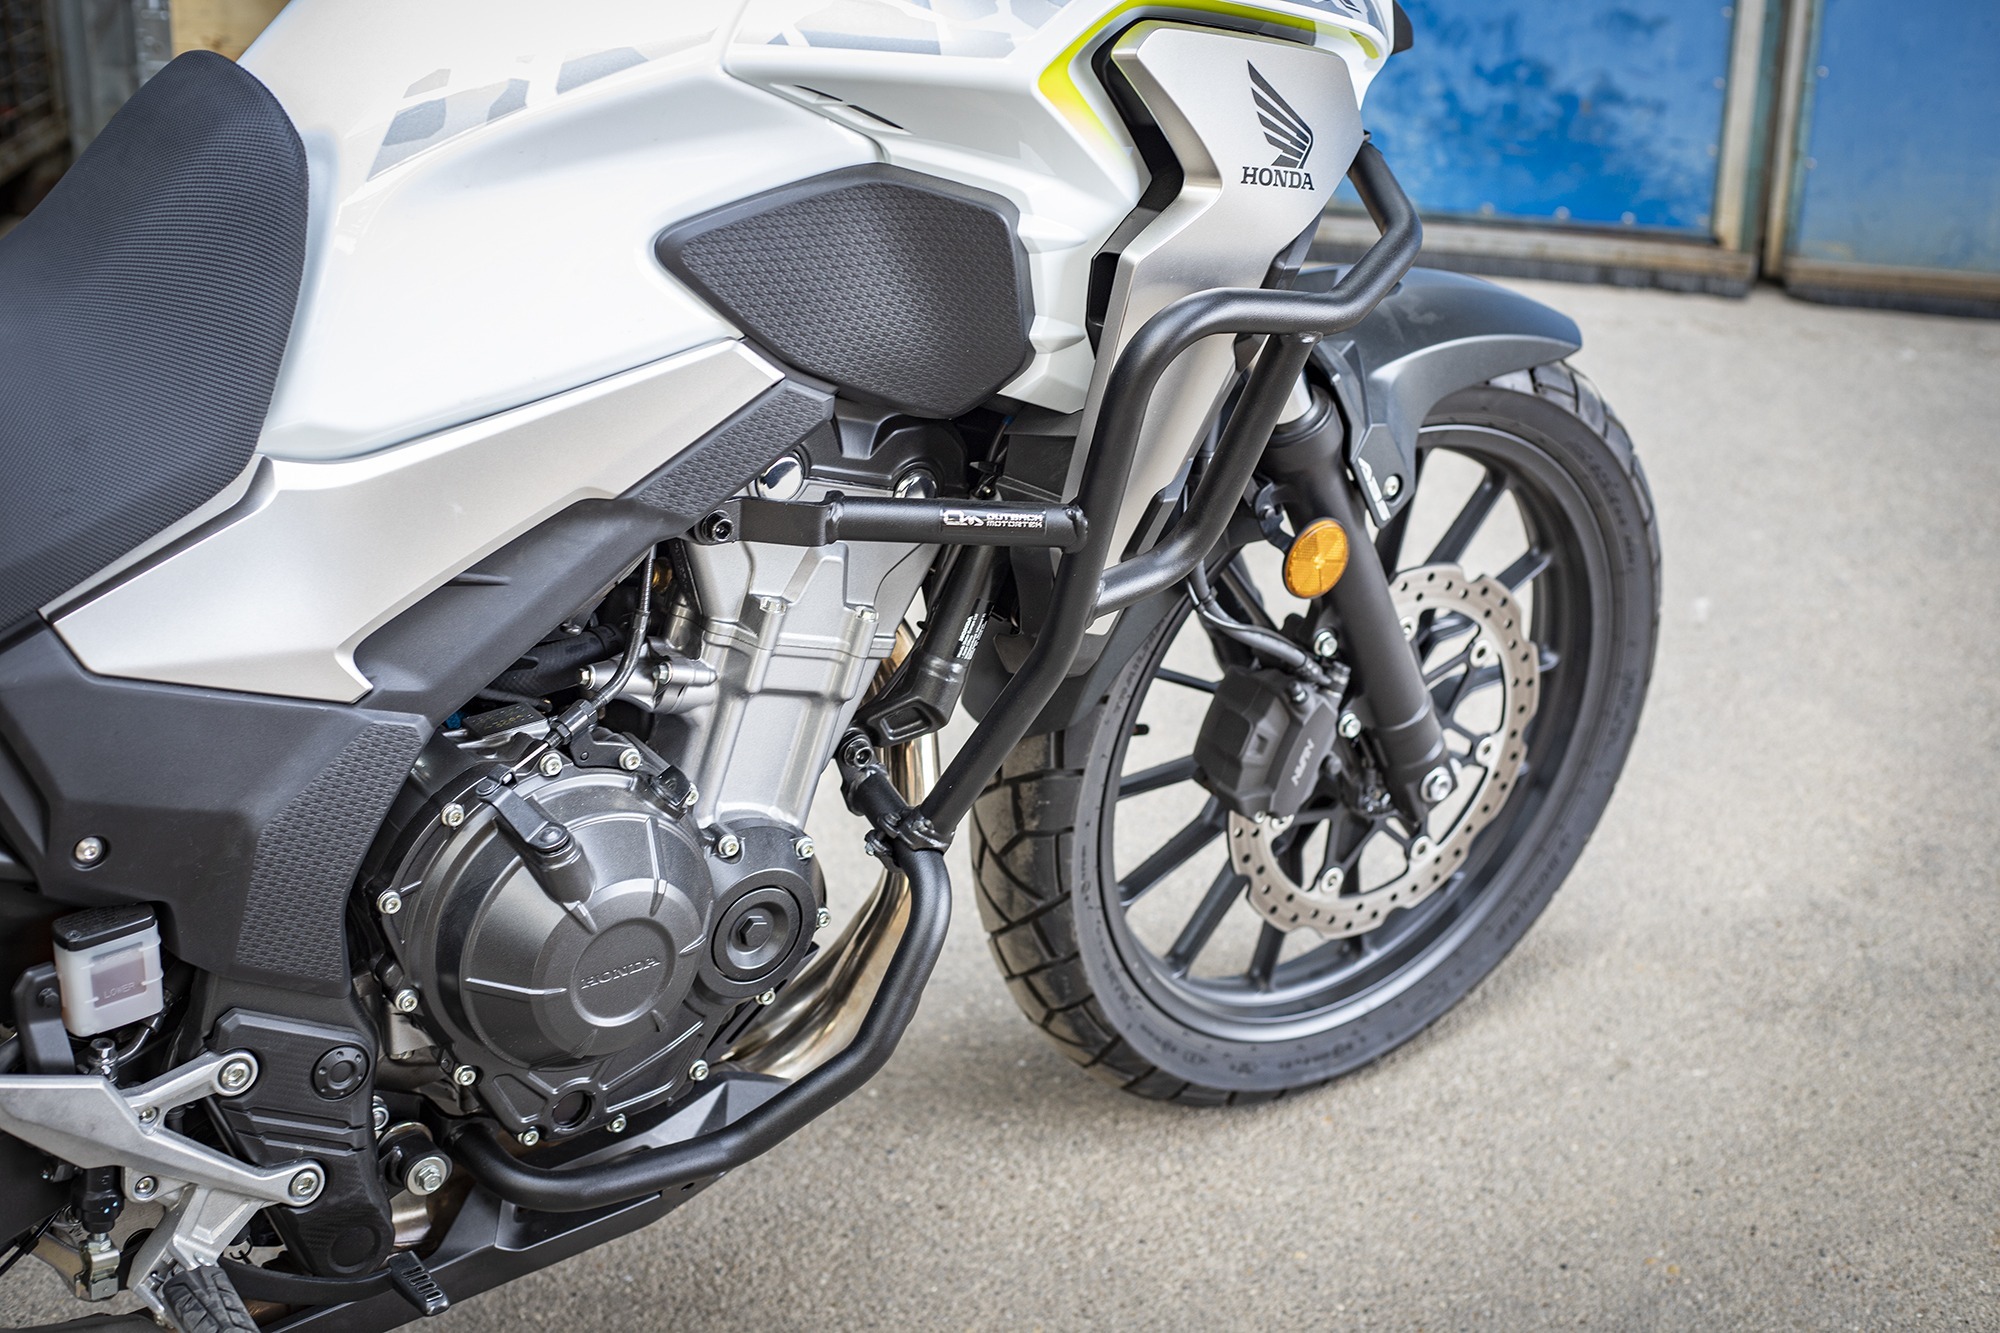
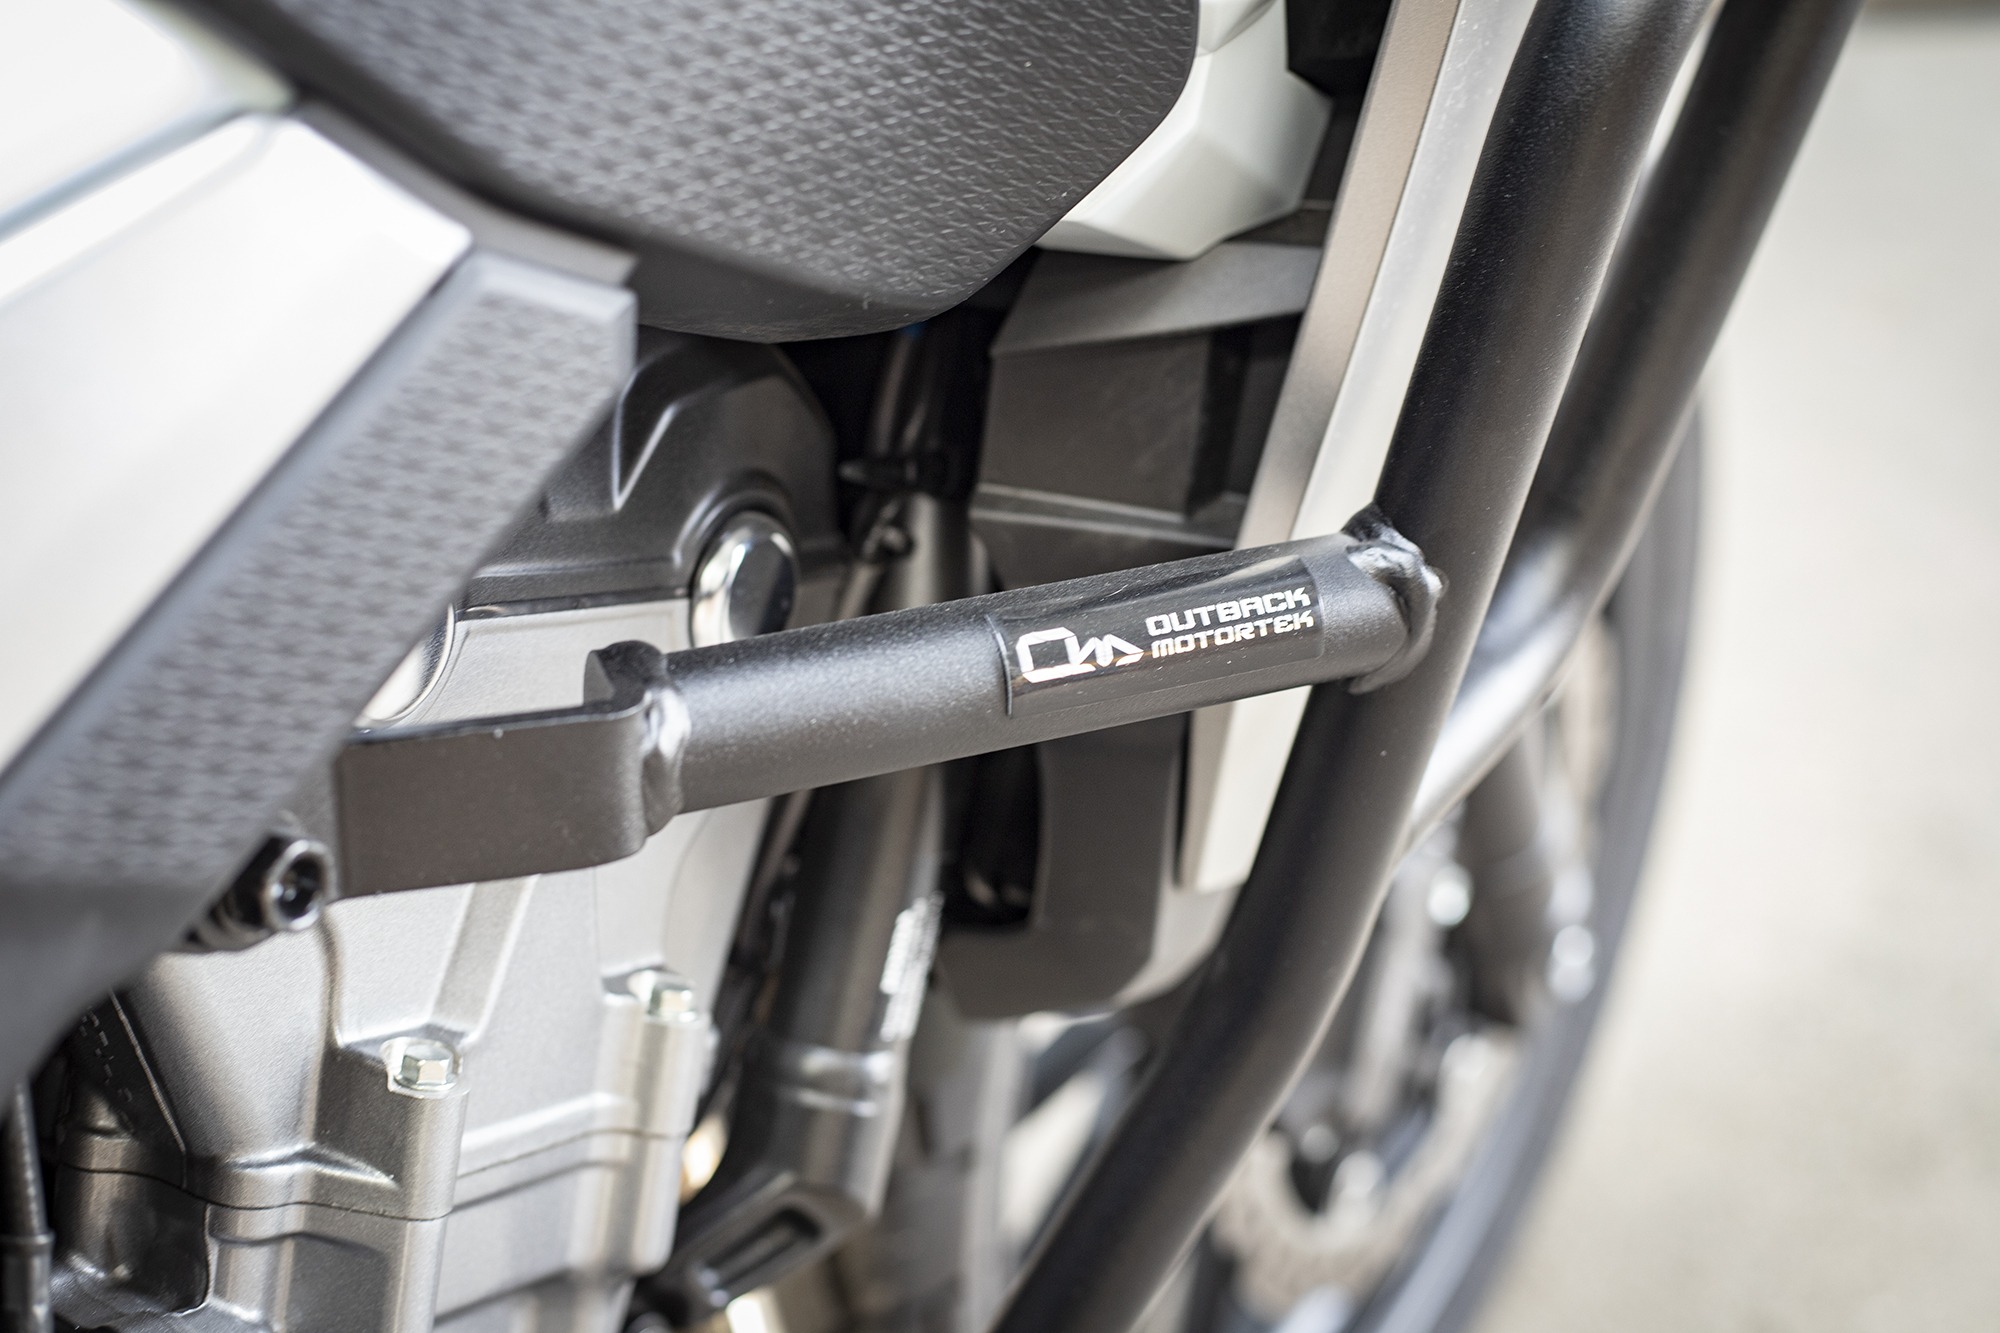
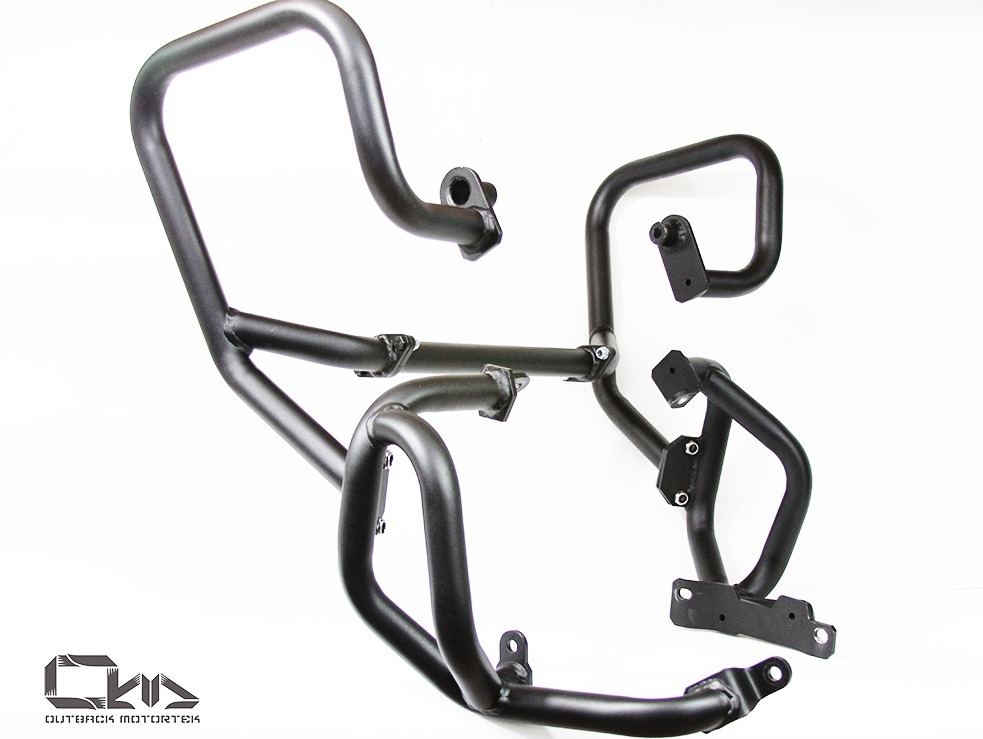
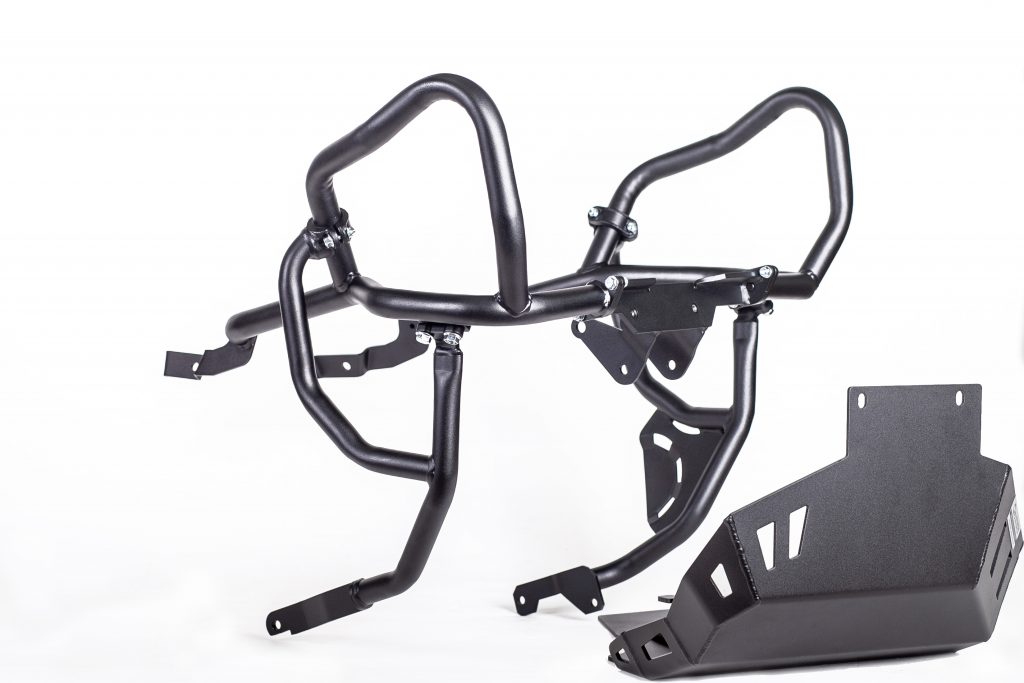
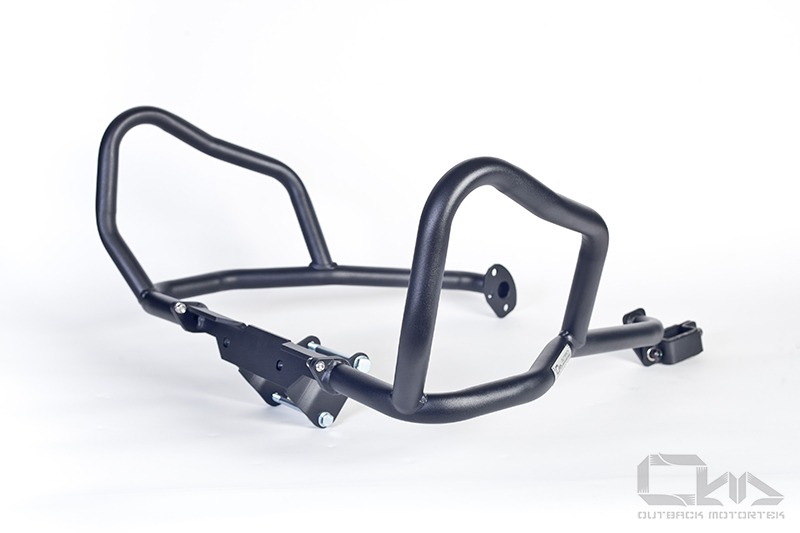
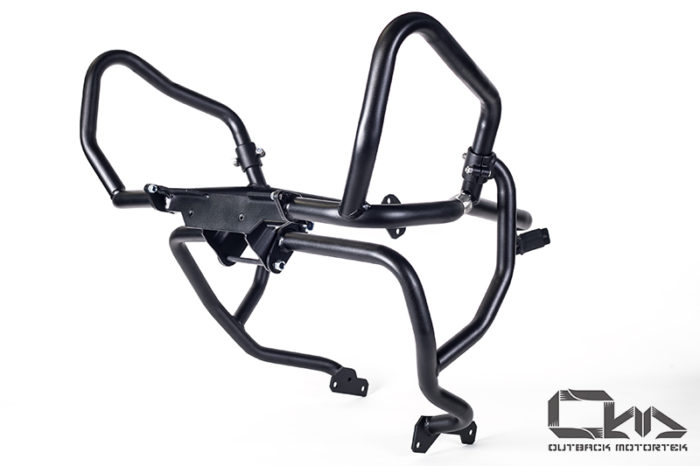
- Quality 25mm steel tube with 2mm wall thickness.
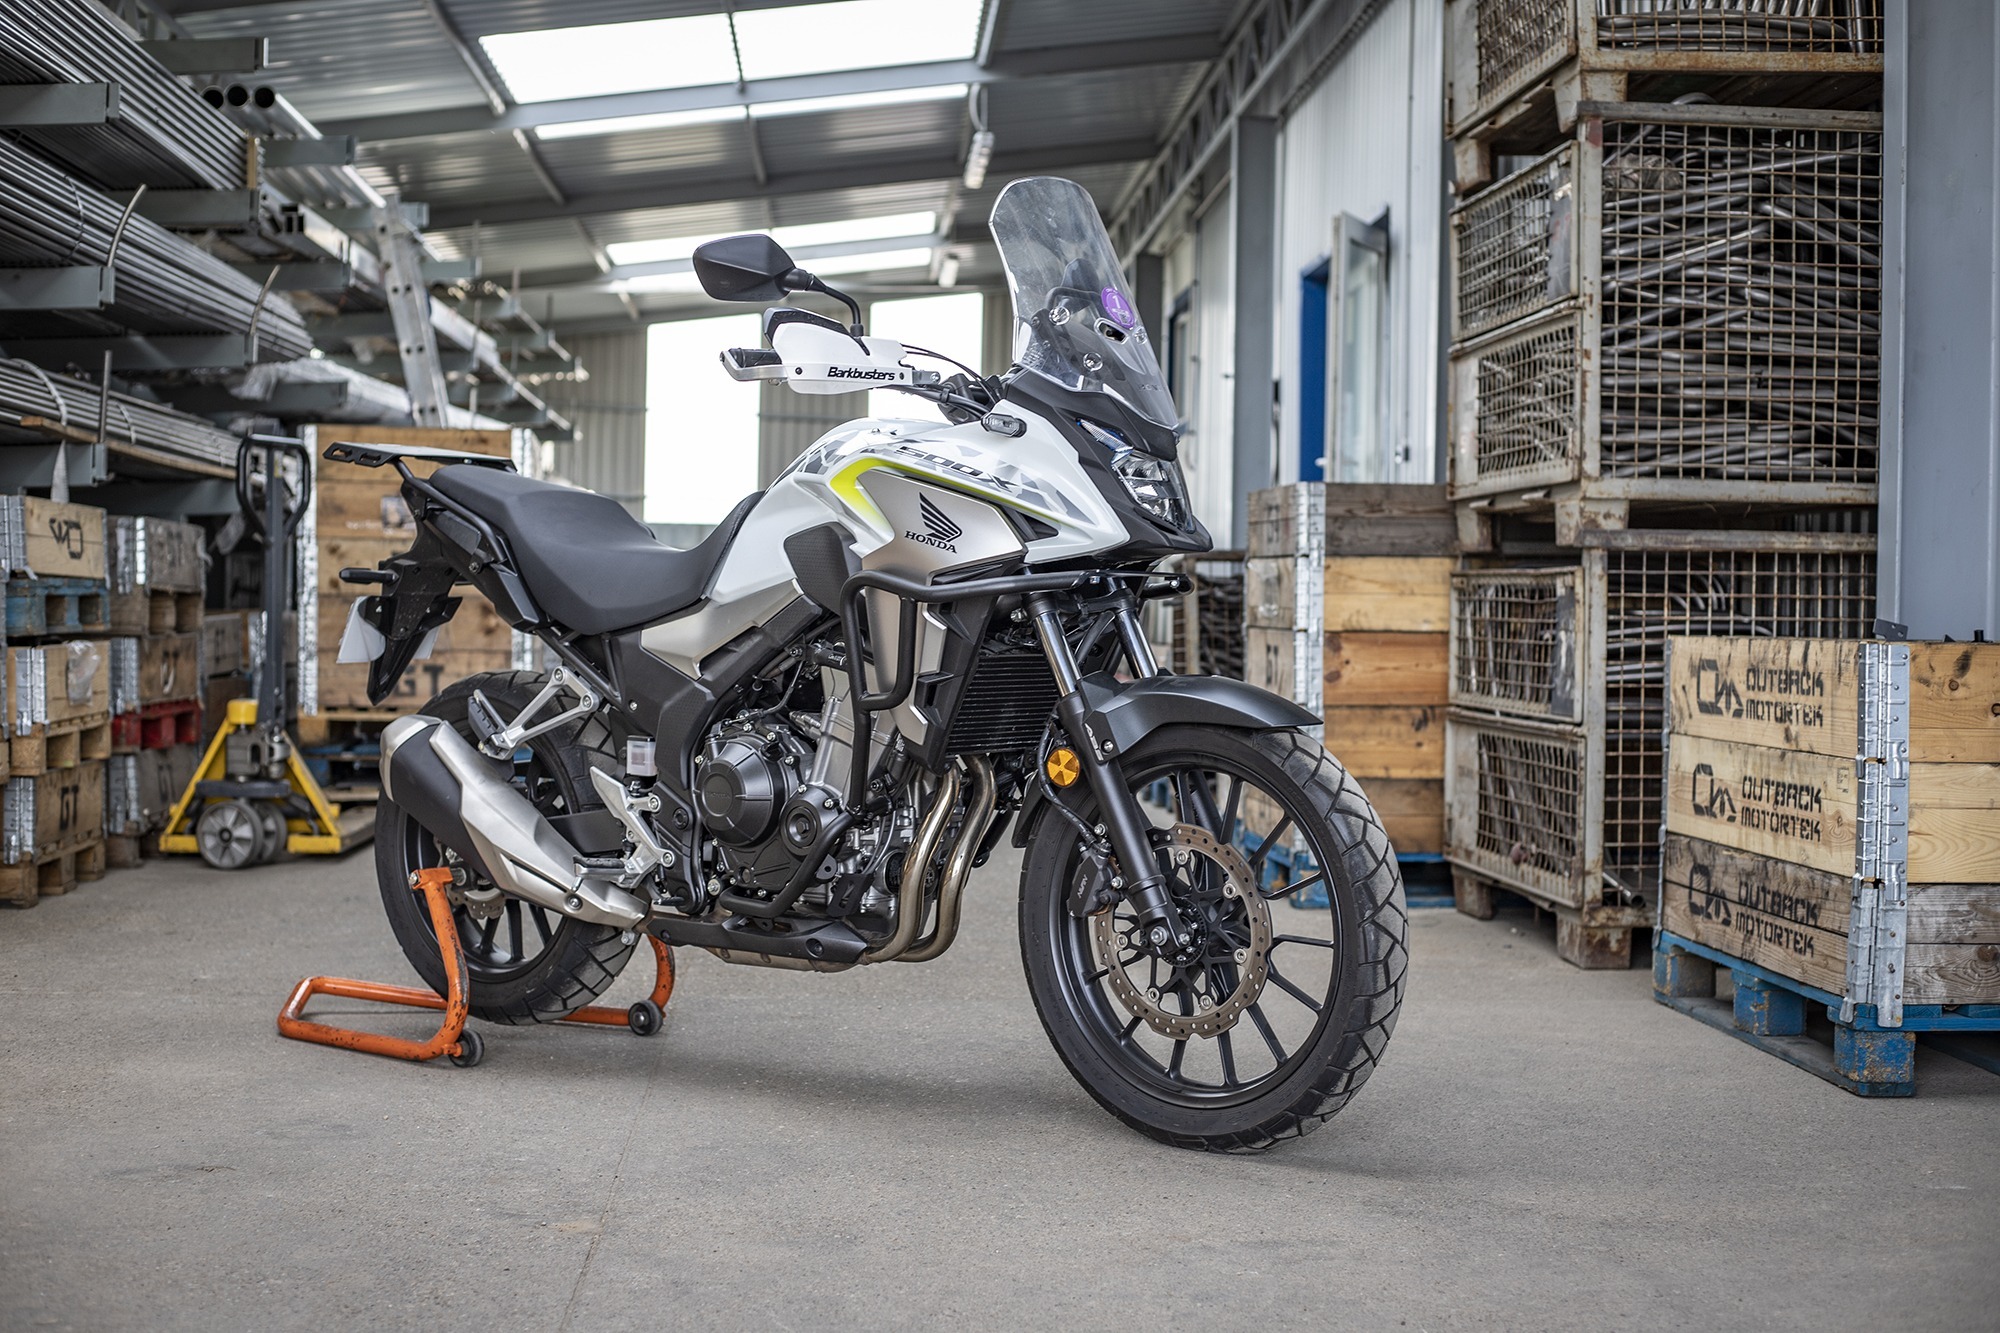
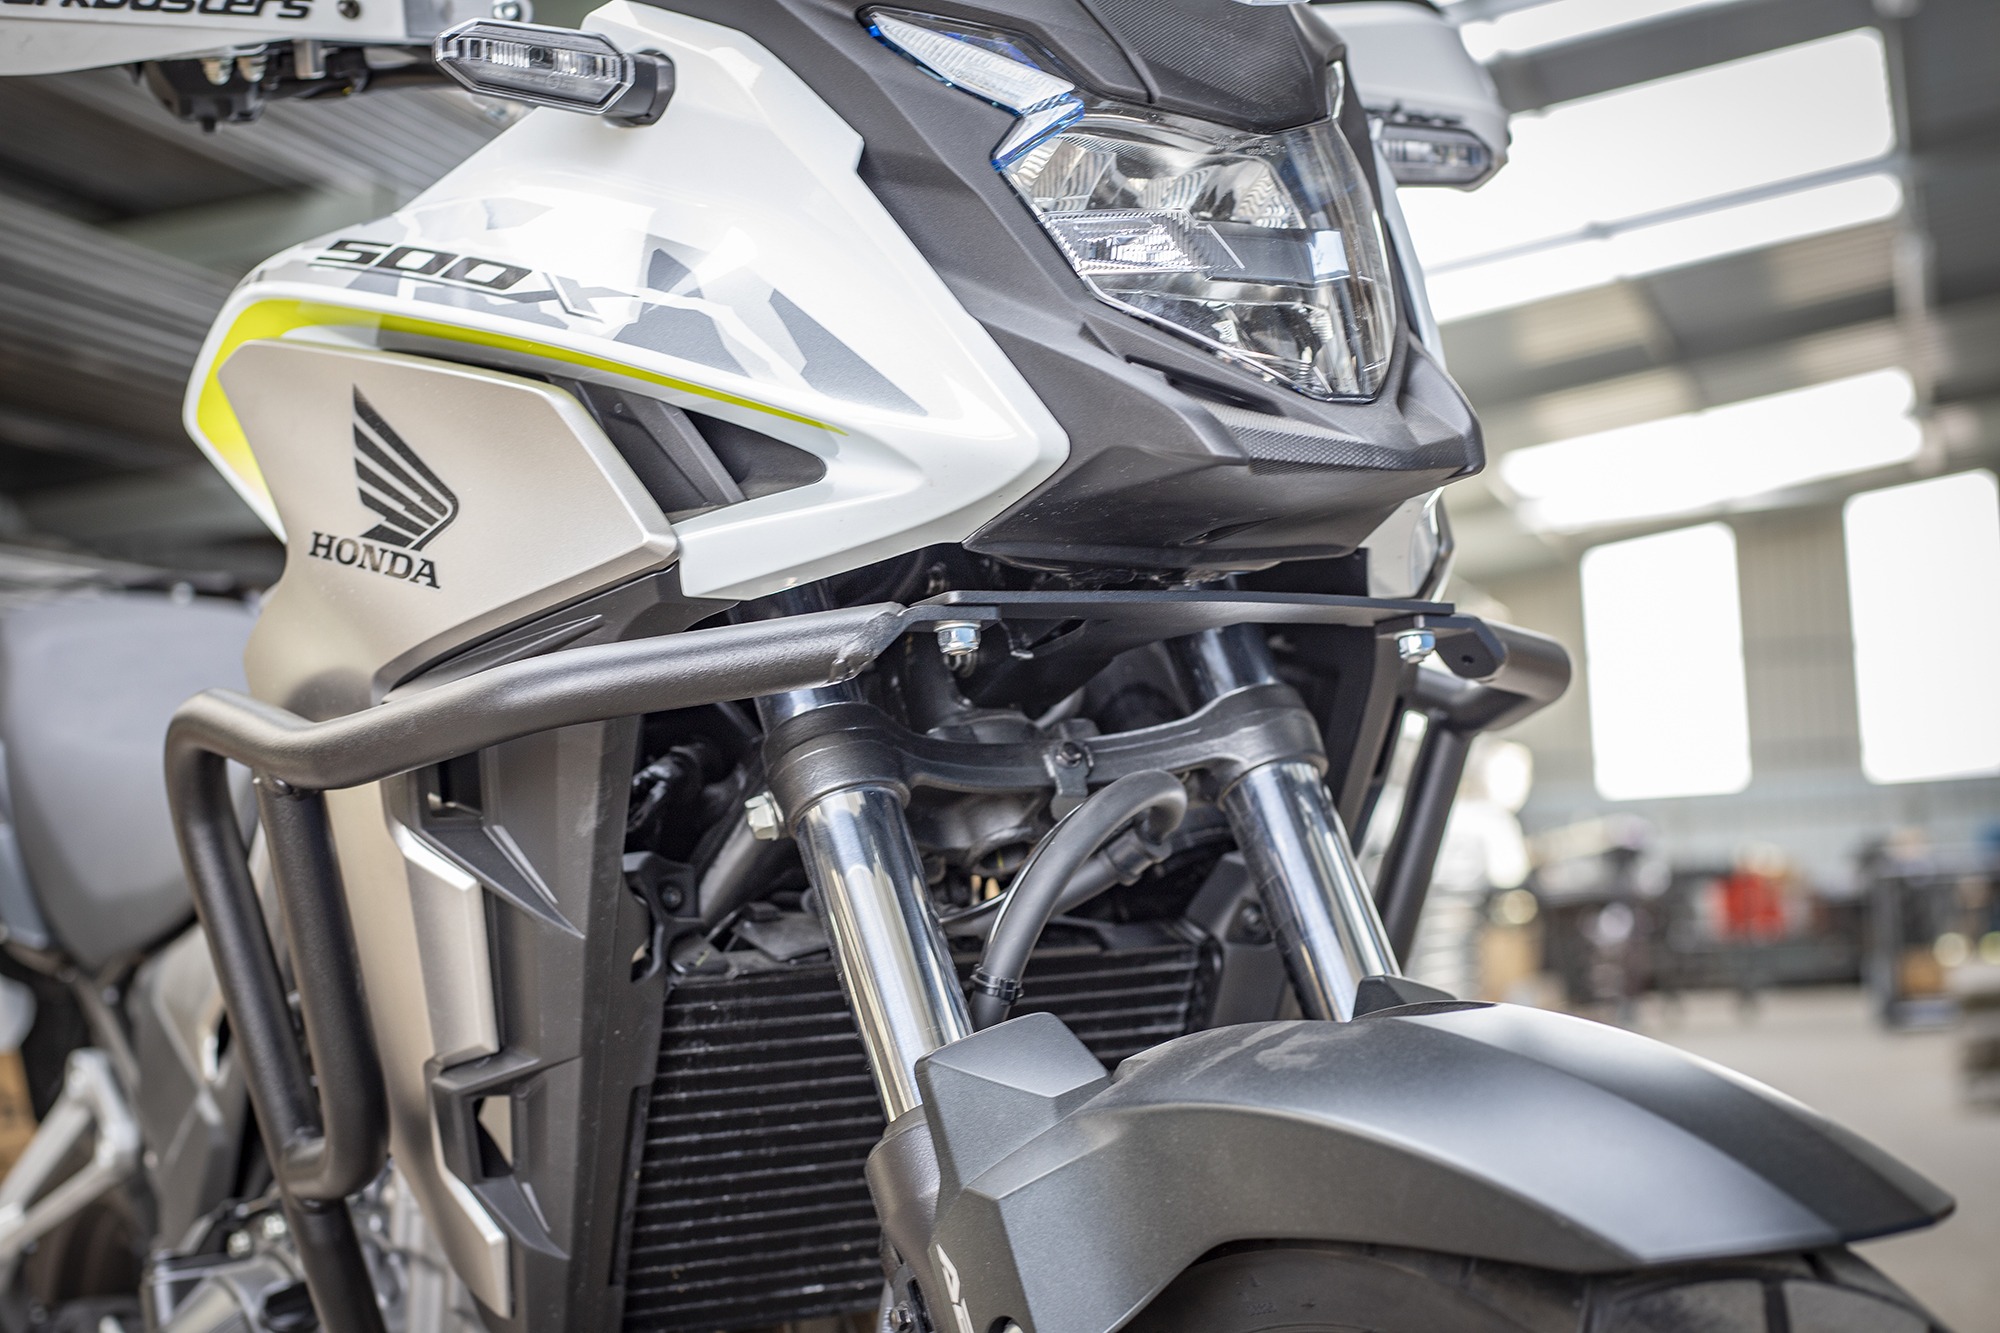
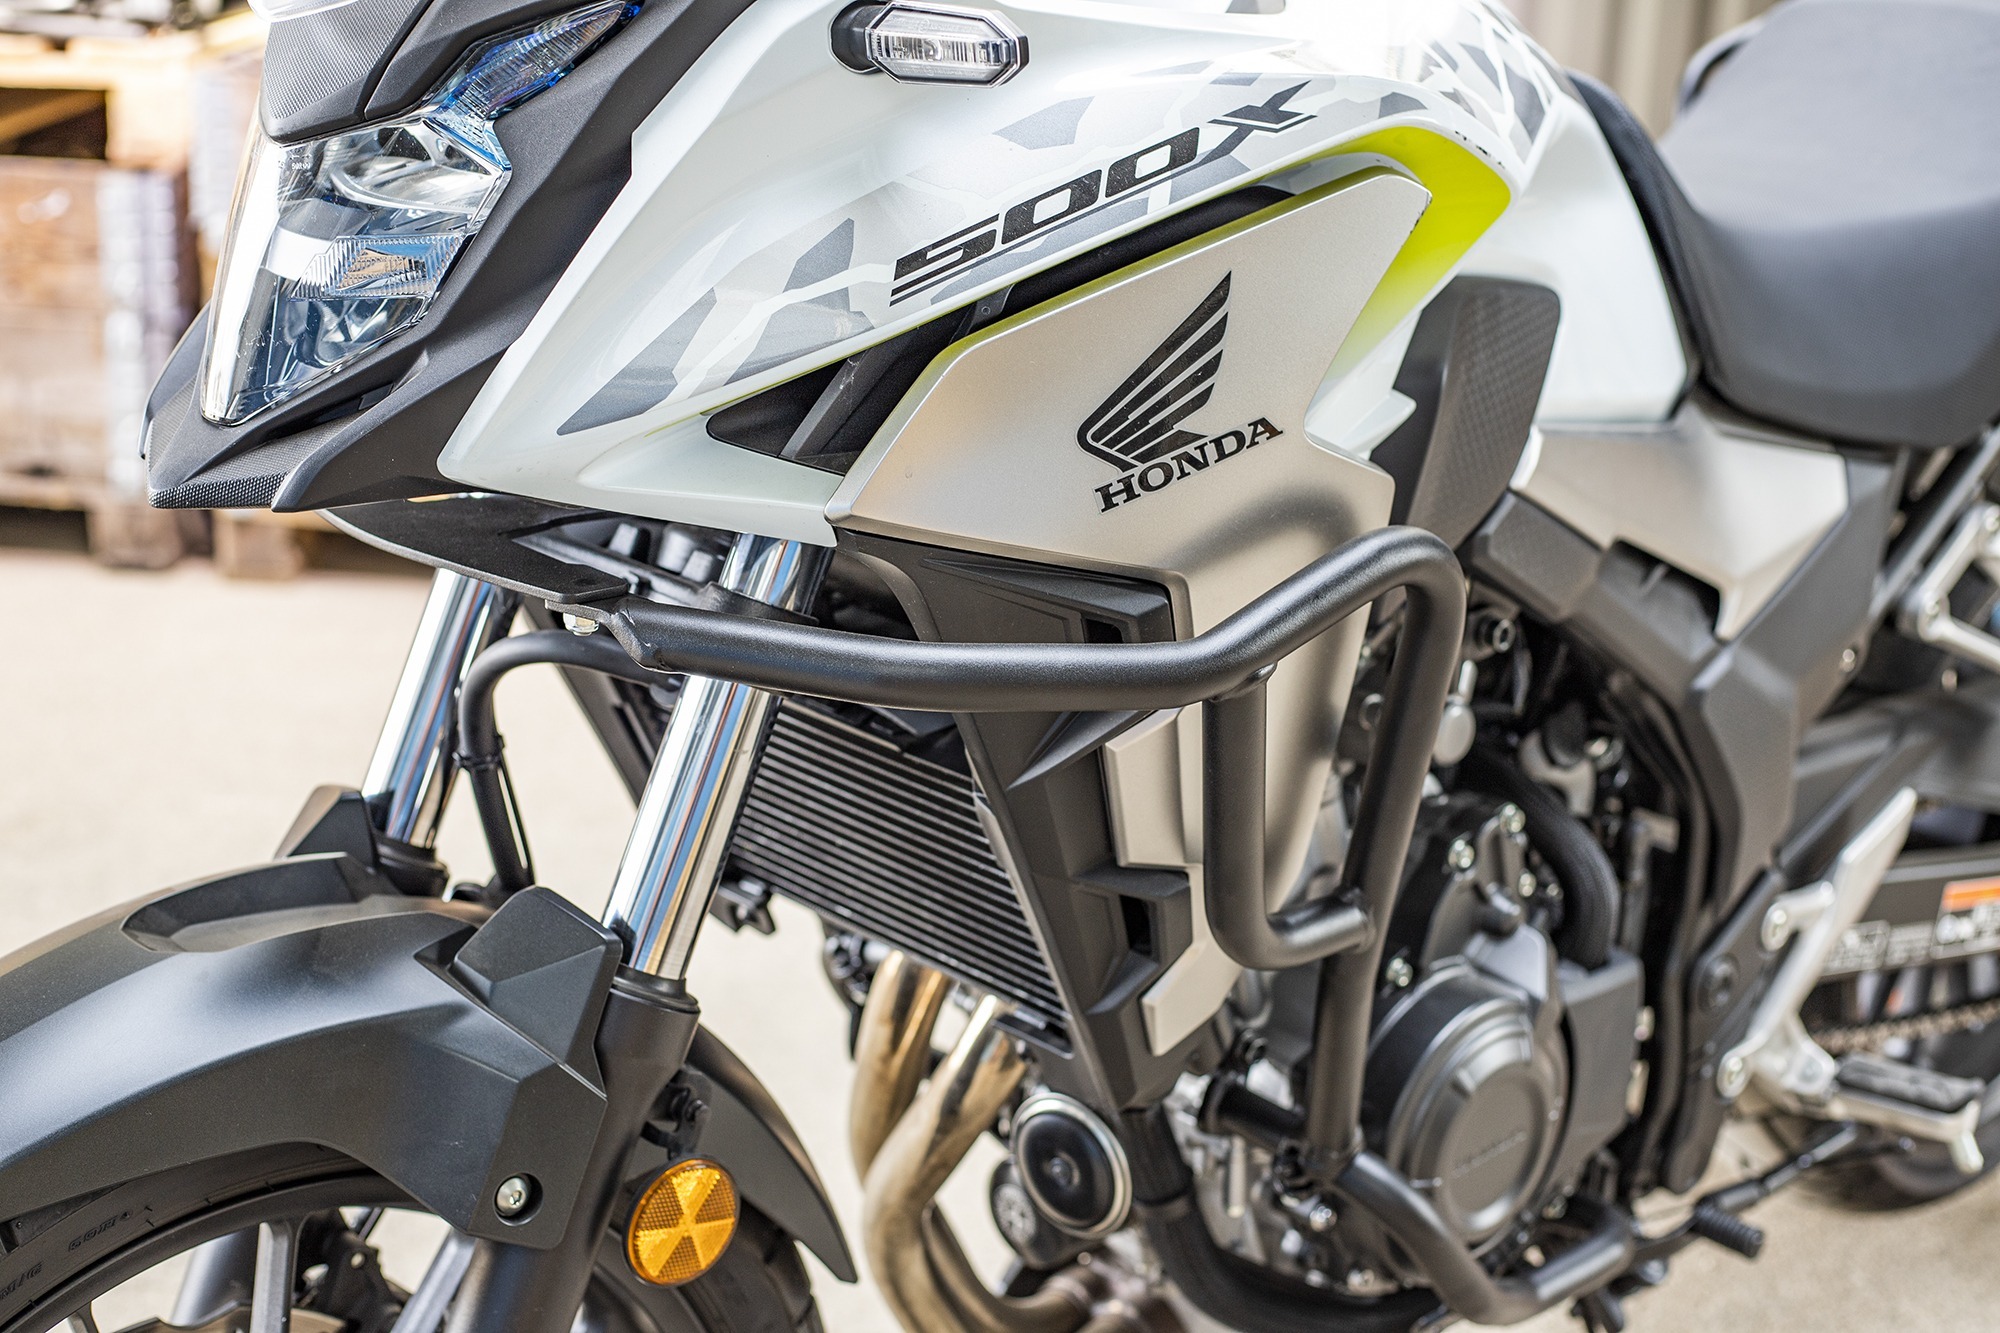
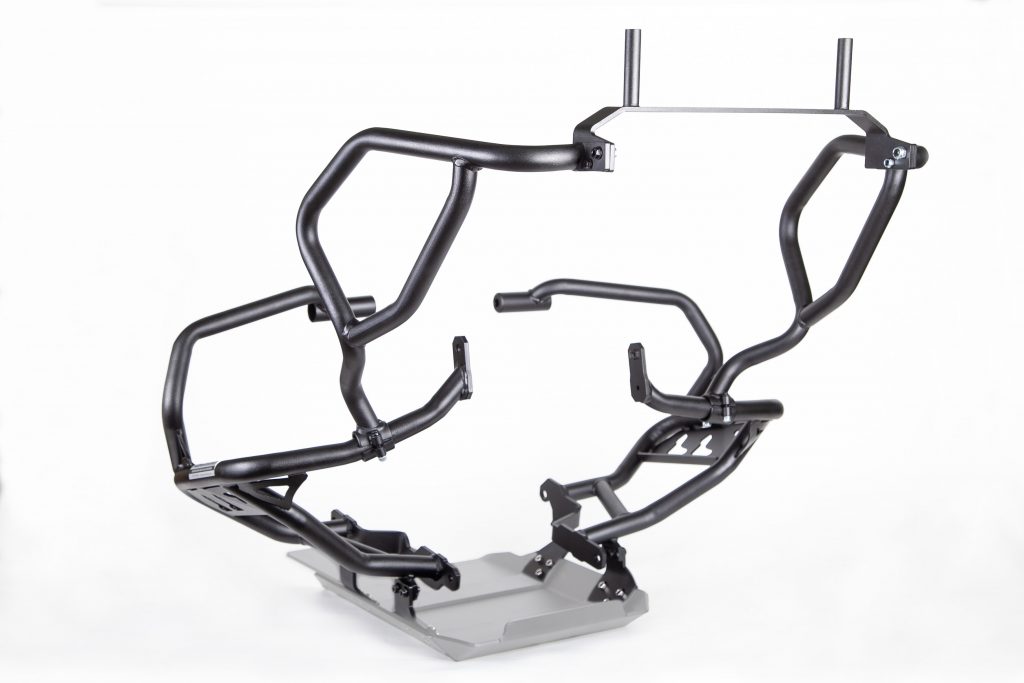
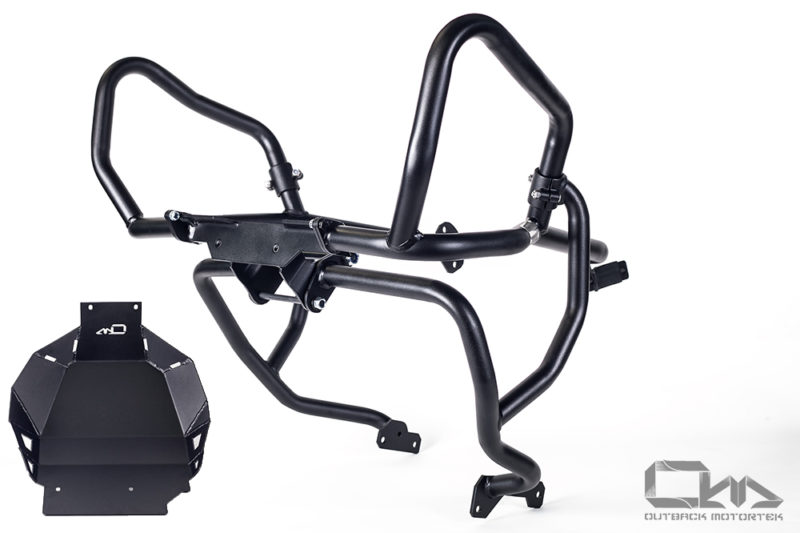
- Less is often more. We’ve utilized the strongest crash bars mounting points while keeping the structure compact for overall strength.
- Powder coated – combined with sandblasting it’s a killer combination to protect your product’s surface. No frills and tough just like your ADV/Dual Sport bike!
Note: It is not possible to adjust the gear shifter with our crash bars installed.


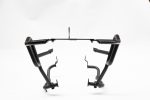
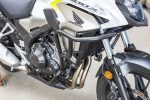
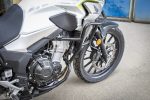
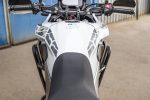

MotoFrog (verified owner) –
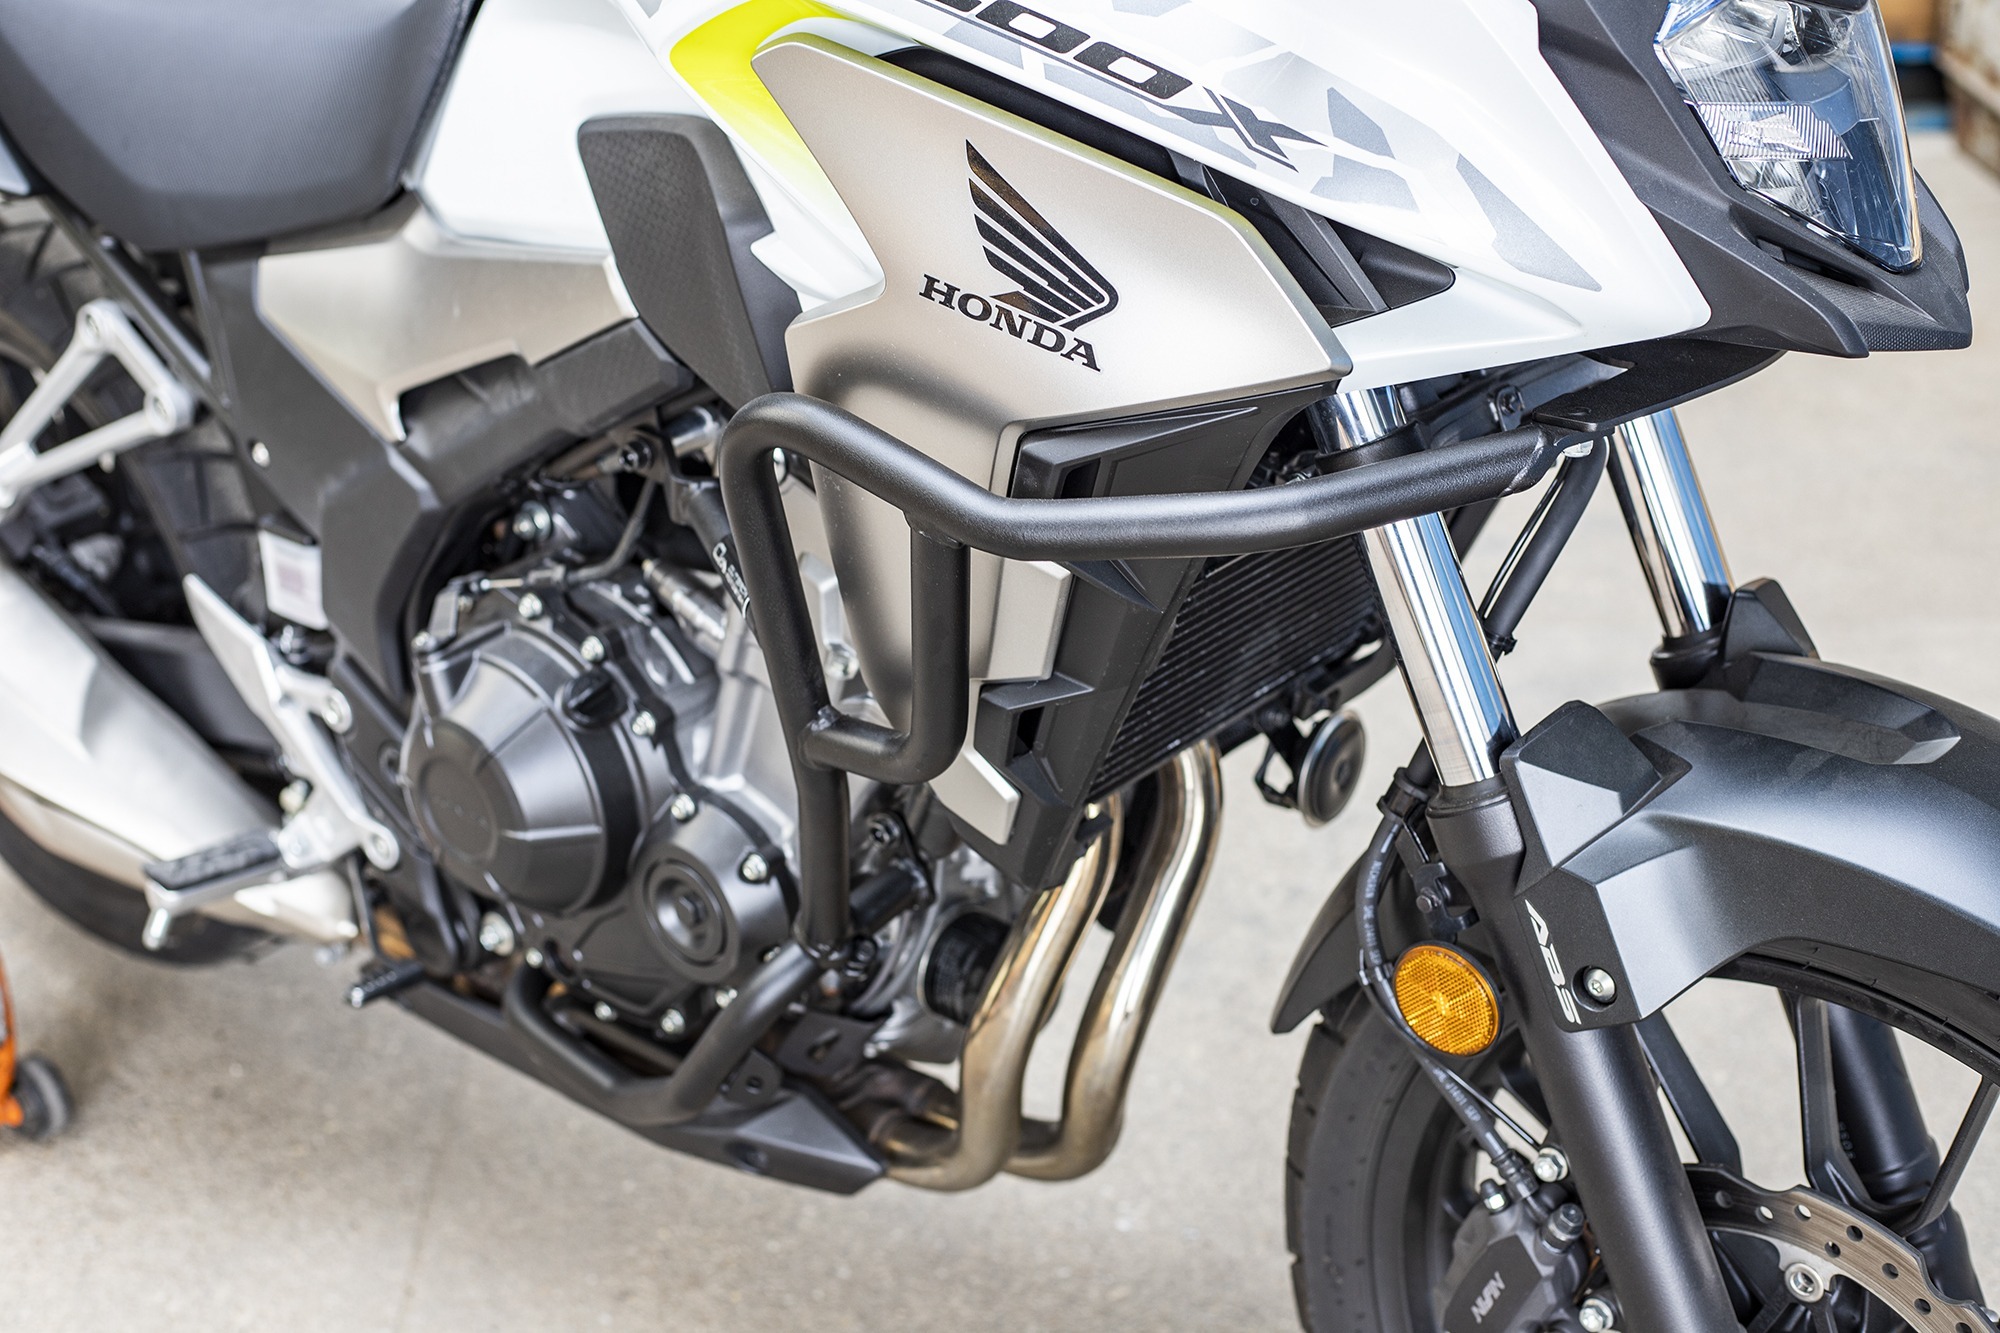
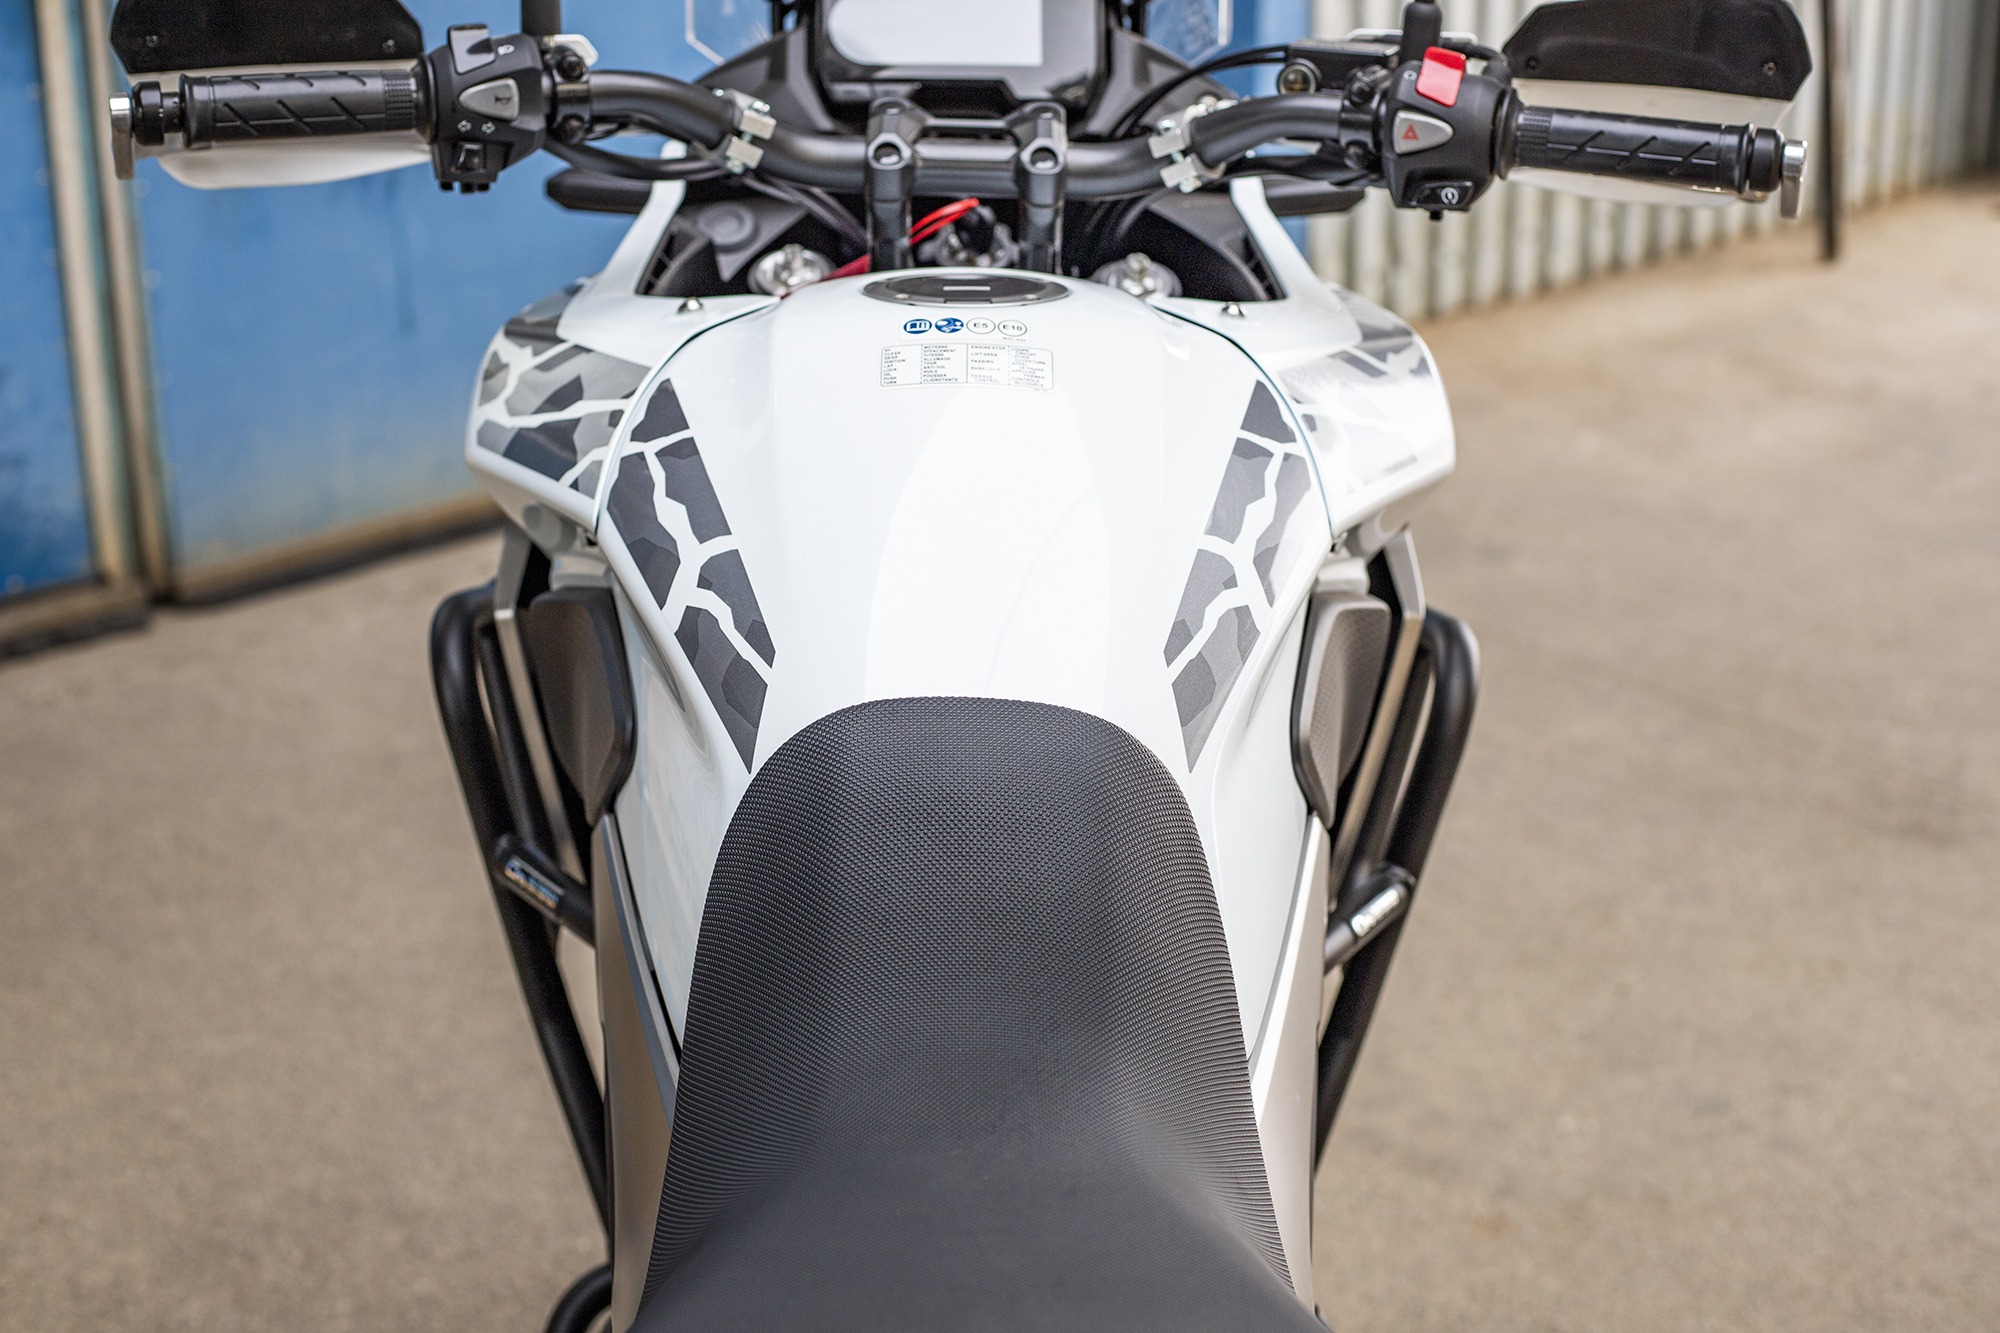
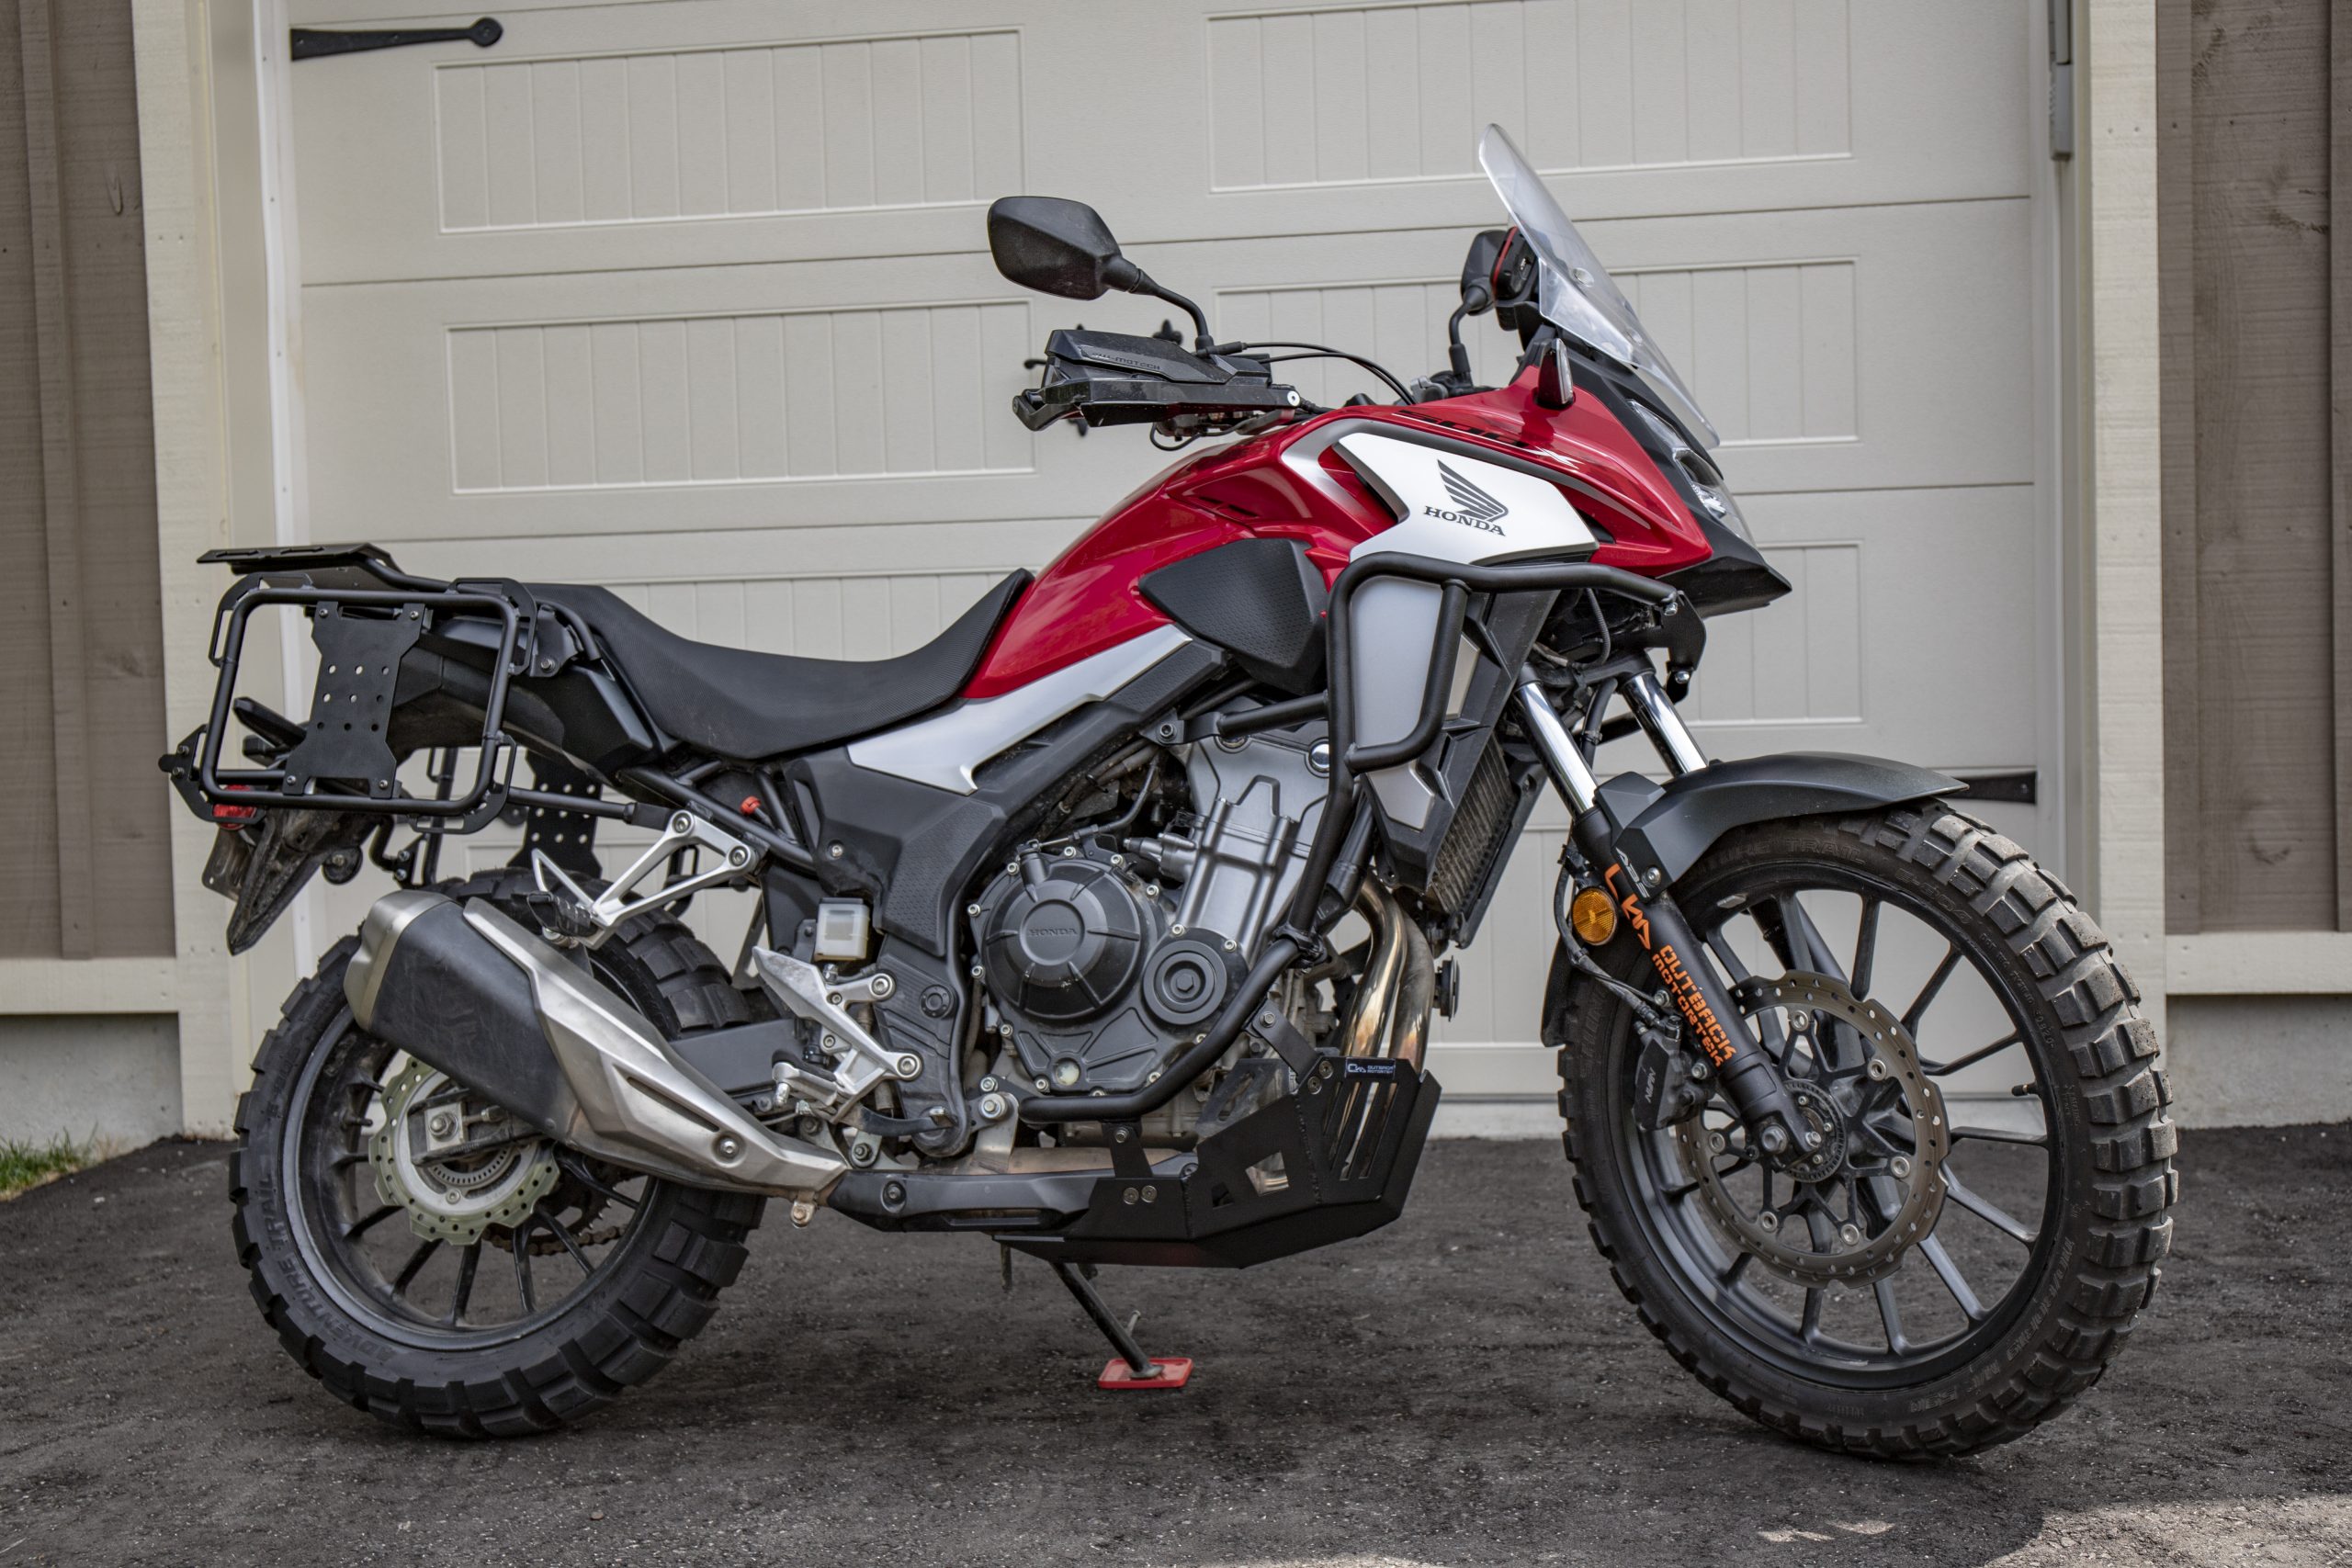
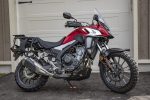
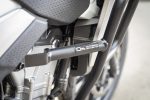
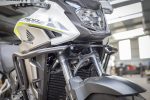
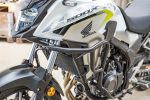
I chose these bars because they allow the use of a skidplate from Outback Motortek that is compatible with the Honda centerstand. I also like the black finish (silver bars kinda take over when you look at the bike) and the relatively trim overall package, while still offering upper and lower protection. They look good, not like you’re hauling a cage around underneath your bike.
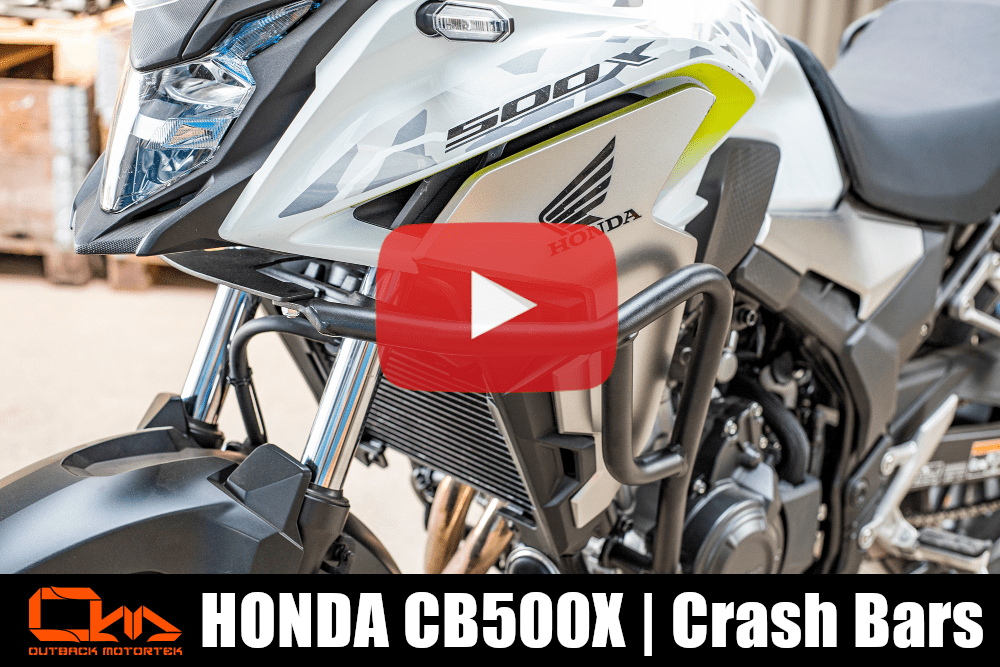
There are no written instructions with them, but a very good installation video is on their website. You’ll want to watch it and take notes. I made a sketch of the bars and noted what order they fastened them, and the torque values. They also show all the hardware supplied and tools needed. They don’t show a torque wrench, but you’ll want that handy, as well.
Note: the video shows a nylon lock nut is supplied with the long bolt for the lower rear engine mount bolt. This is incorrect. They do not supply that nut, you reuse the factory nut on your bike with the longer bolt supplied with the bars. No big deal, but if you aren’t aware, you may think something is missing.
Mounting was pretty straightforward after watching the video (and having it handy on my phone while I was working). Once you have everything mounted loosely, you’ll then snug up all the bolts. This is the point I applied the Loctite. Blue Loctite sets in something like 10 minutes, so I pulled each snugged bolt (or nut) one at a time, applied the Loctite, then reinstalled them and snugged them up. I did this on one side of the bike at a time, which gave me plenty of time to then get each side torqued properly before the Loctite set, then doing the other side.